Griffin IT Integration
The Griffin IT integration allows you to view all products available from Griffin IT and utilizes our new Configurator to easily find specific configurations of supported systems.
Installing the Extension
-
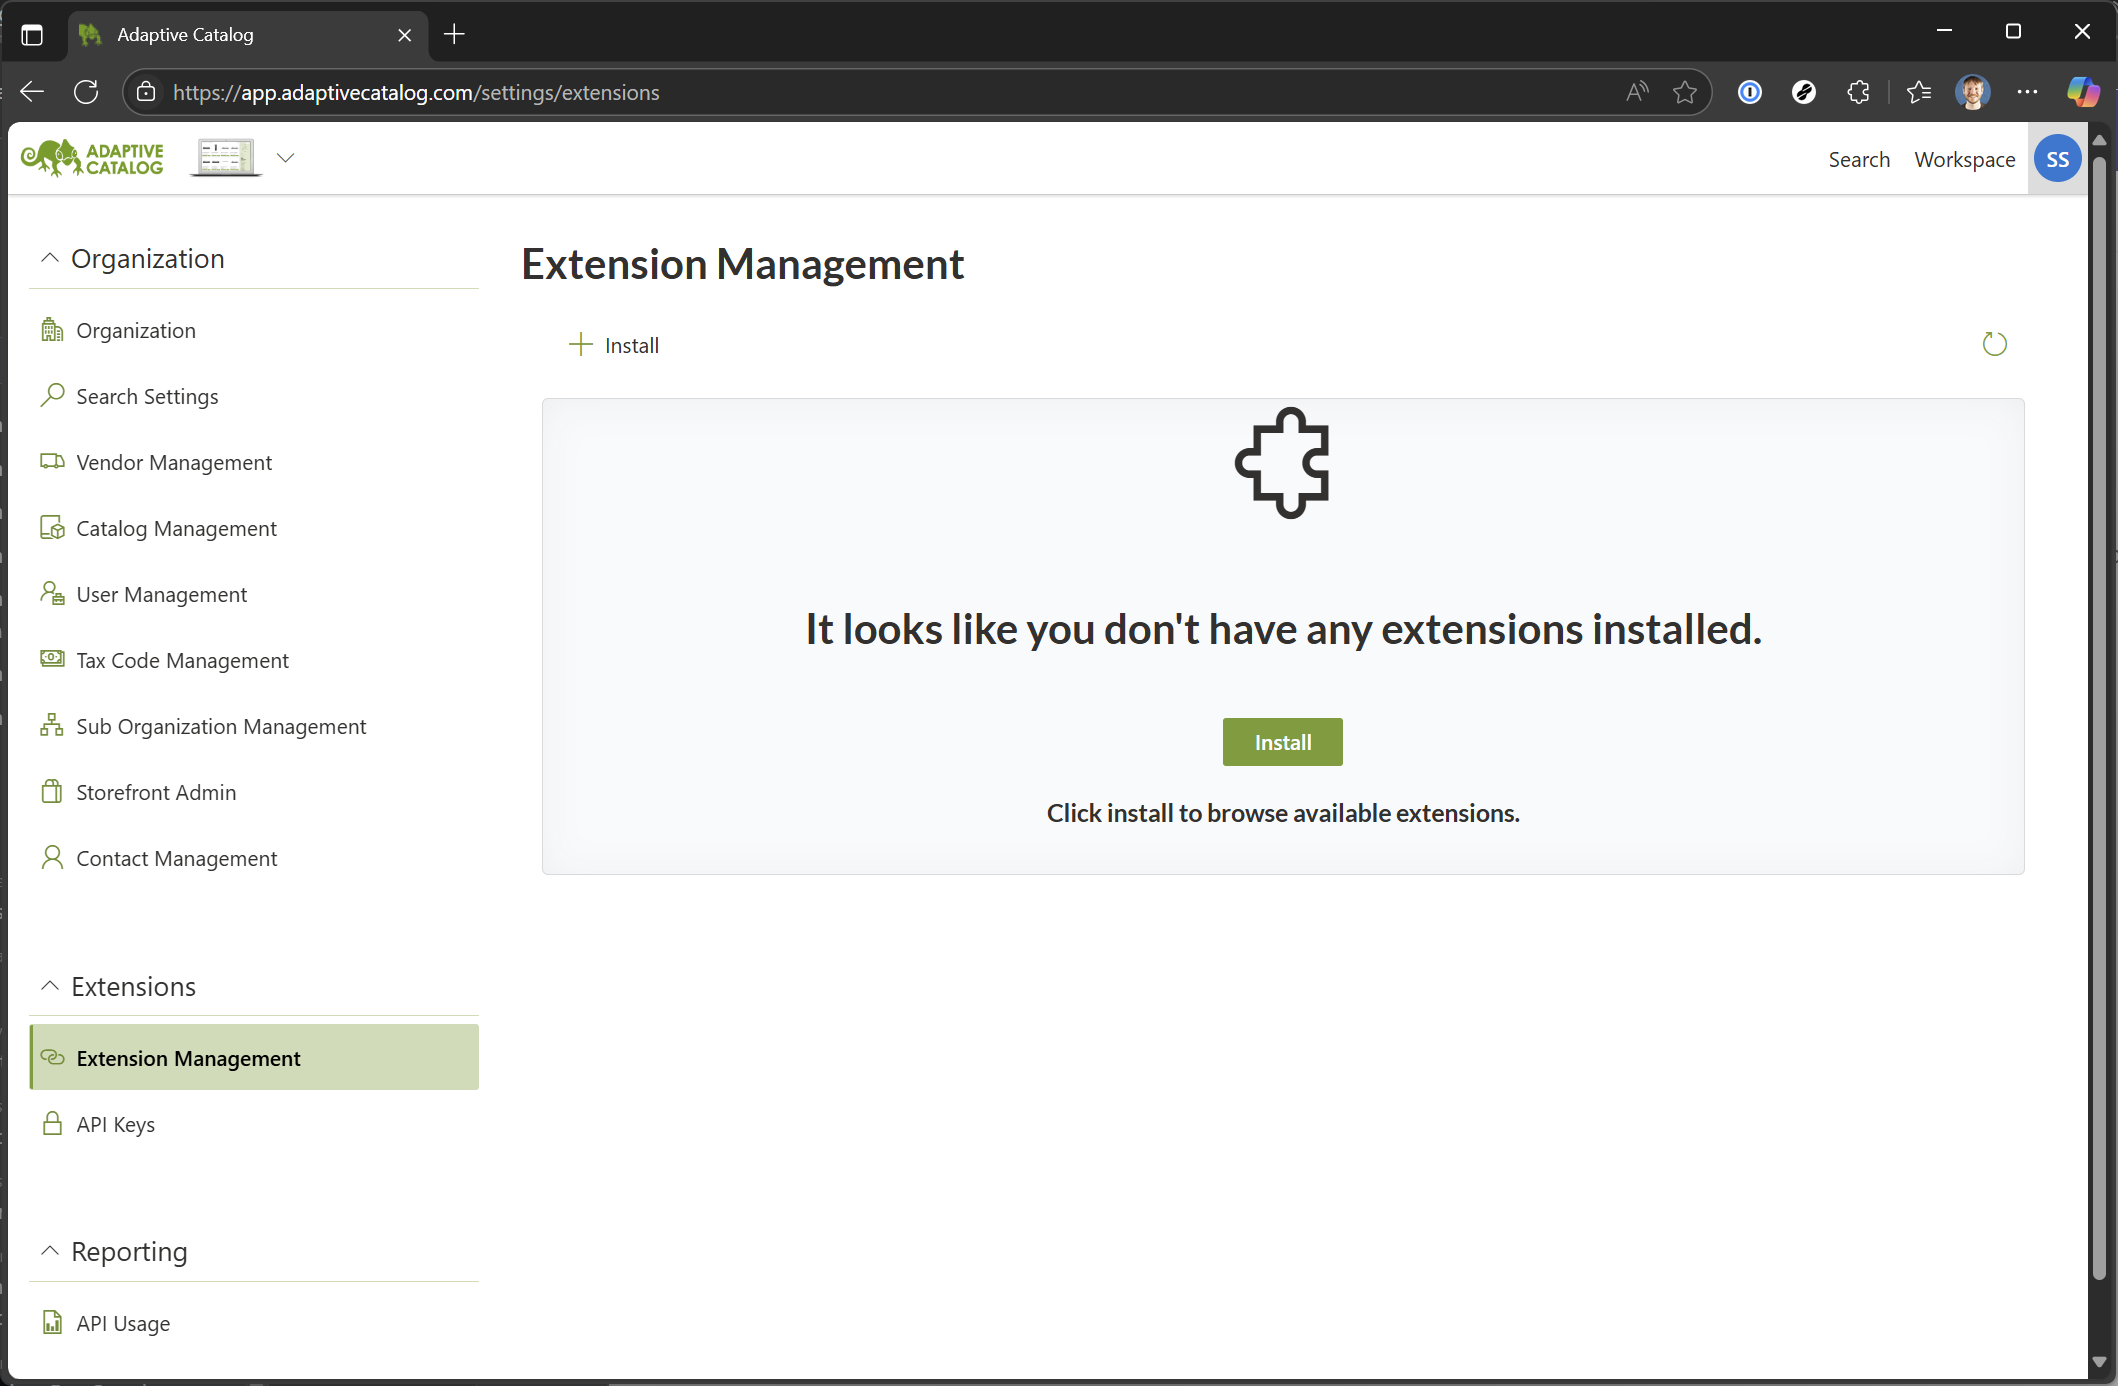
Navigate to Settings >> Extension Management
-
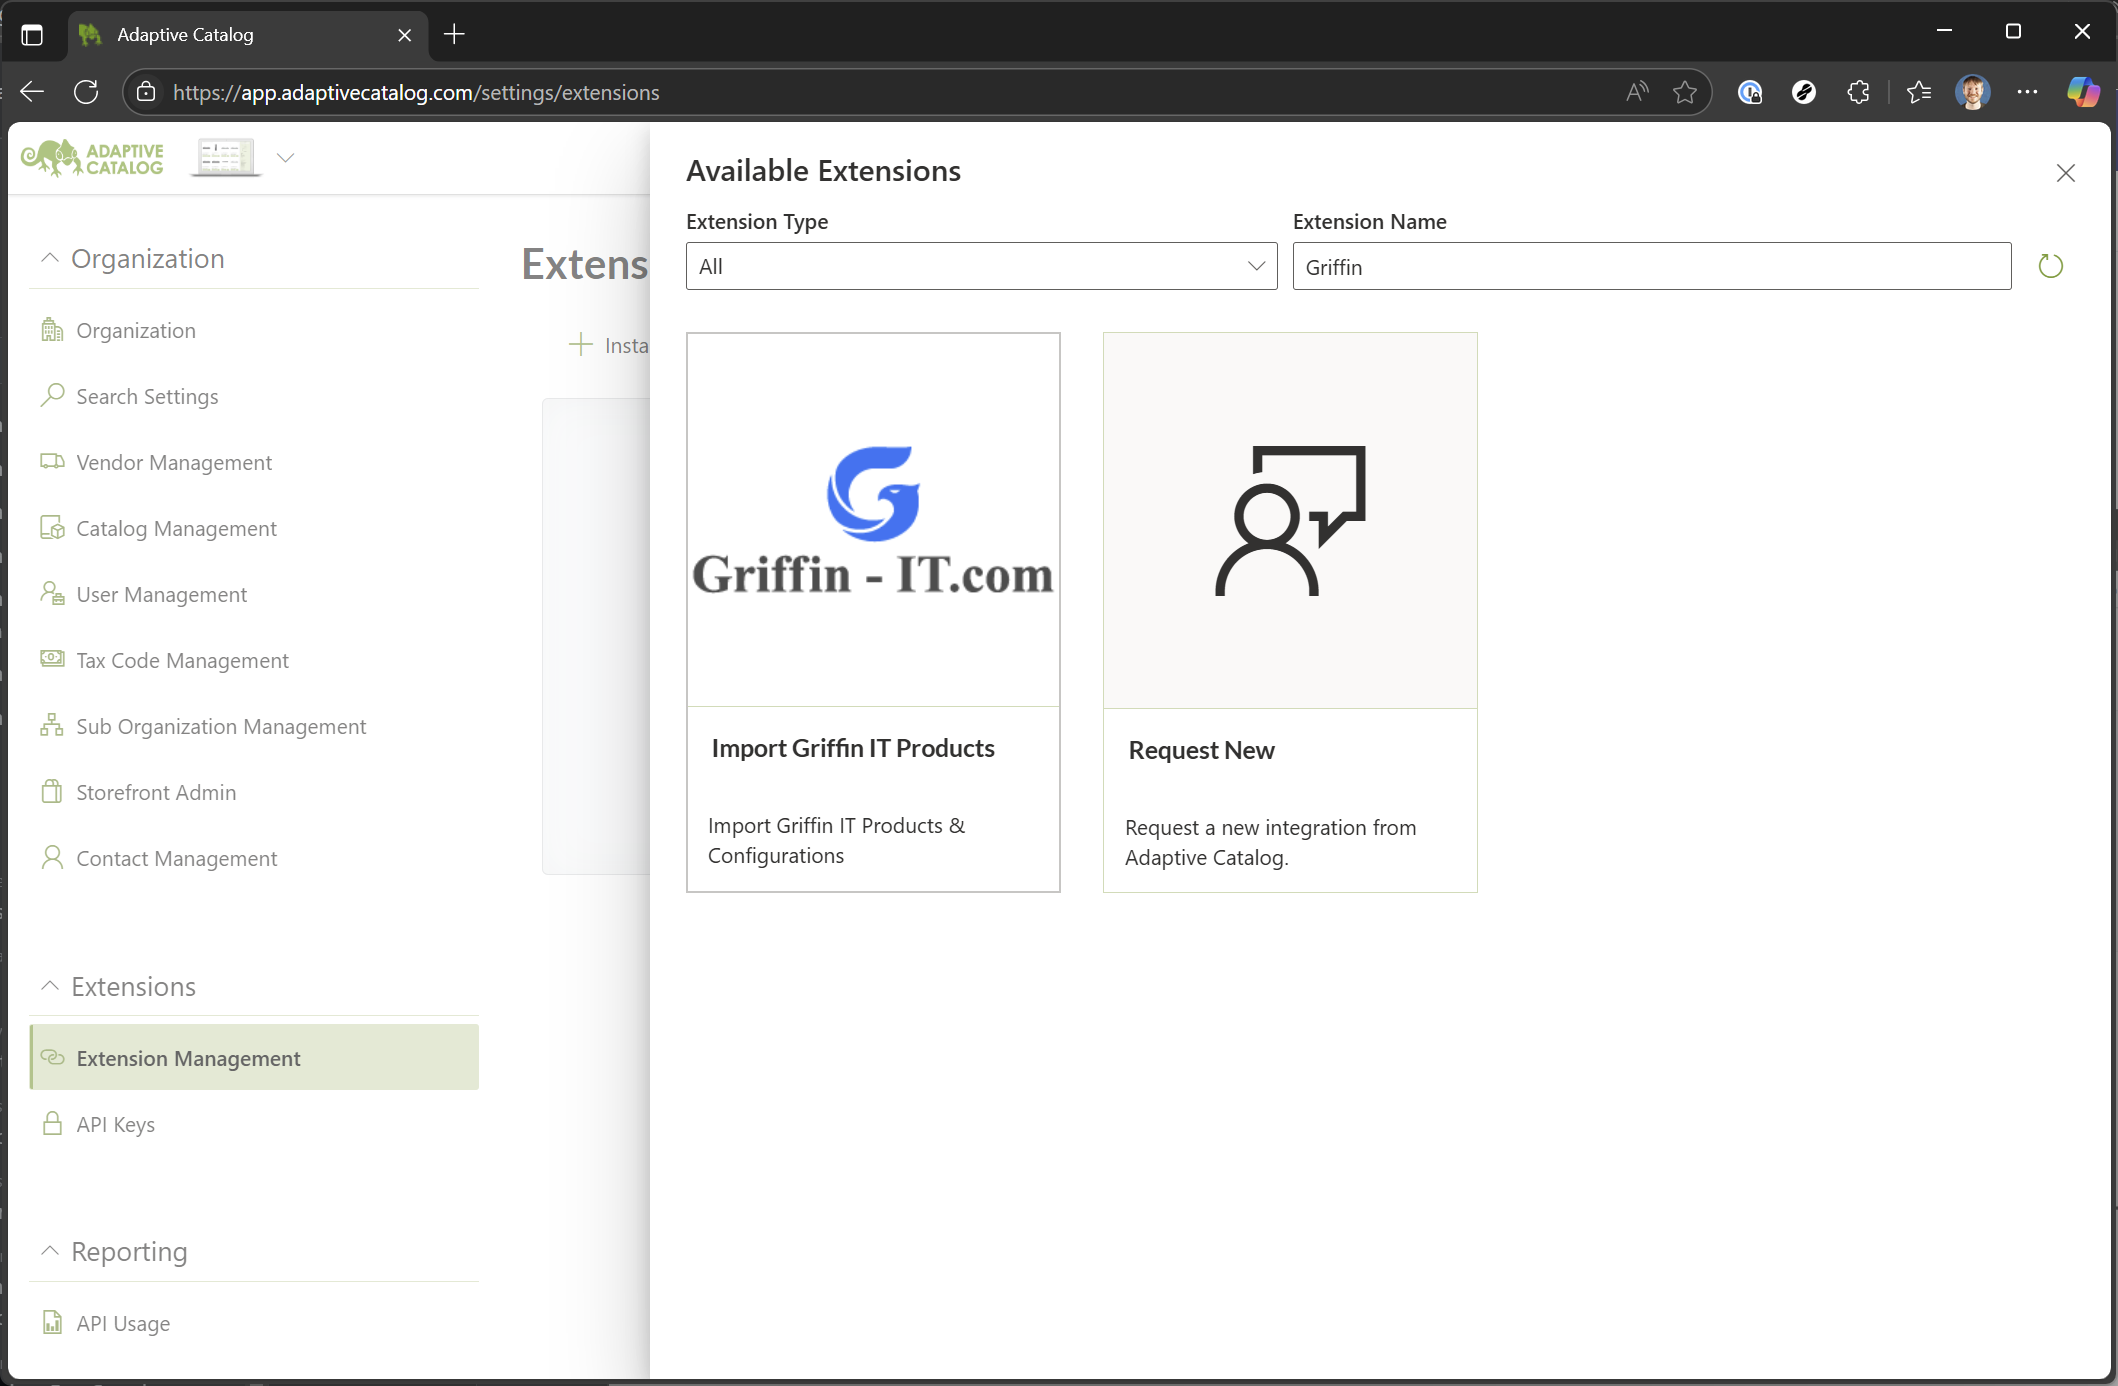
Click "Install" and locate the "Import Griffin IT Products" extension. You can type "Griffin IT" into the search box to make finding it easier.
-
Select your target catalog (most likely this will be "technology"), select "Custom" as the Vendor, and then type in "Griffin IT". Check the Create Products checkbox and then select a good time for the import (keeping in mind the time is in UTC). Then click Save.
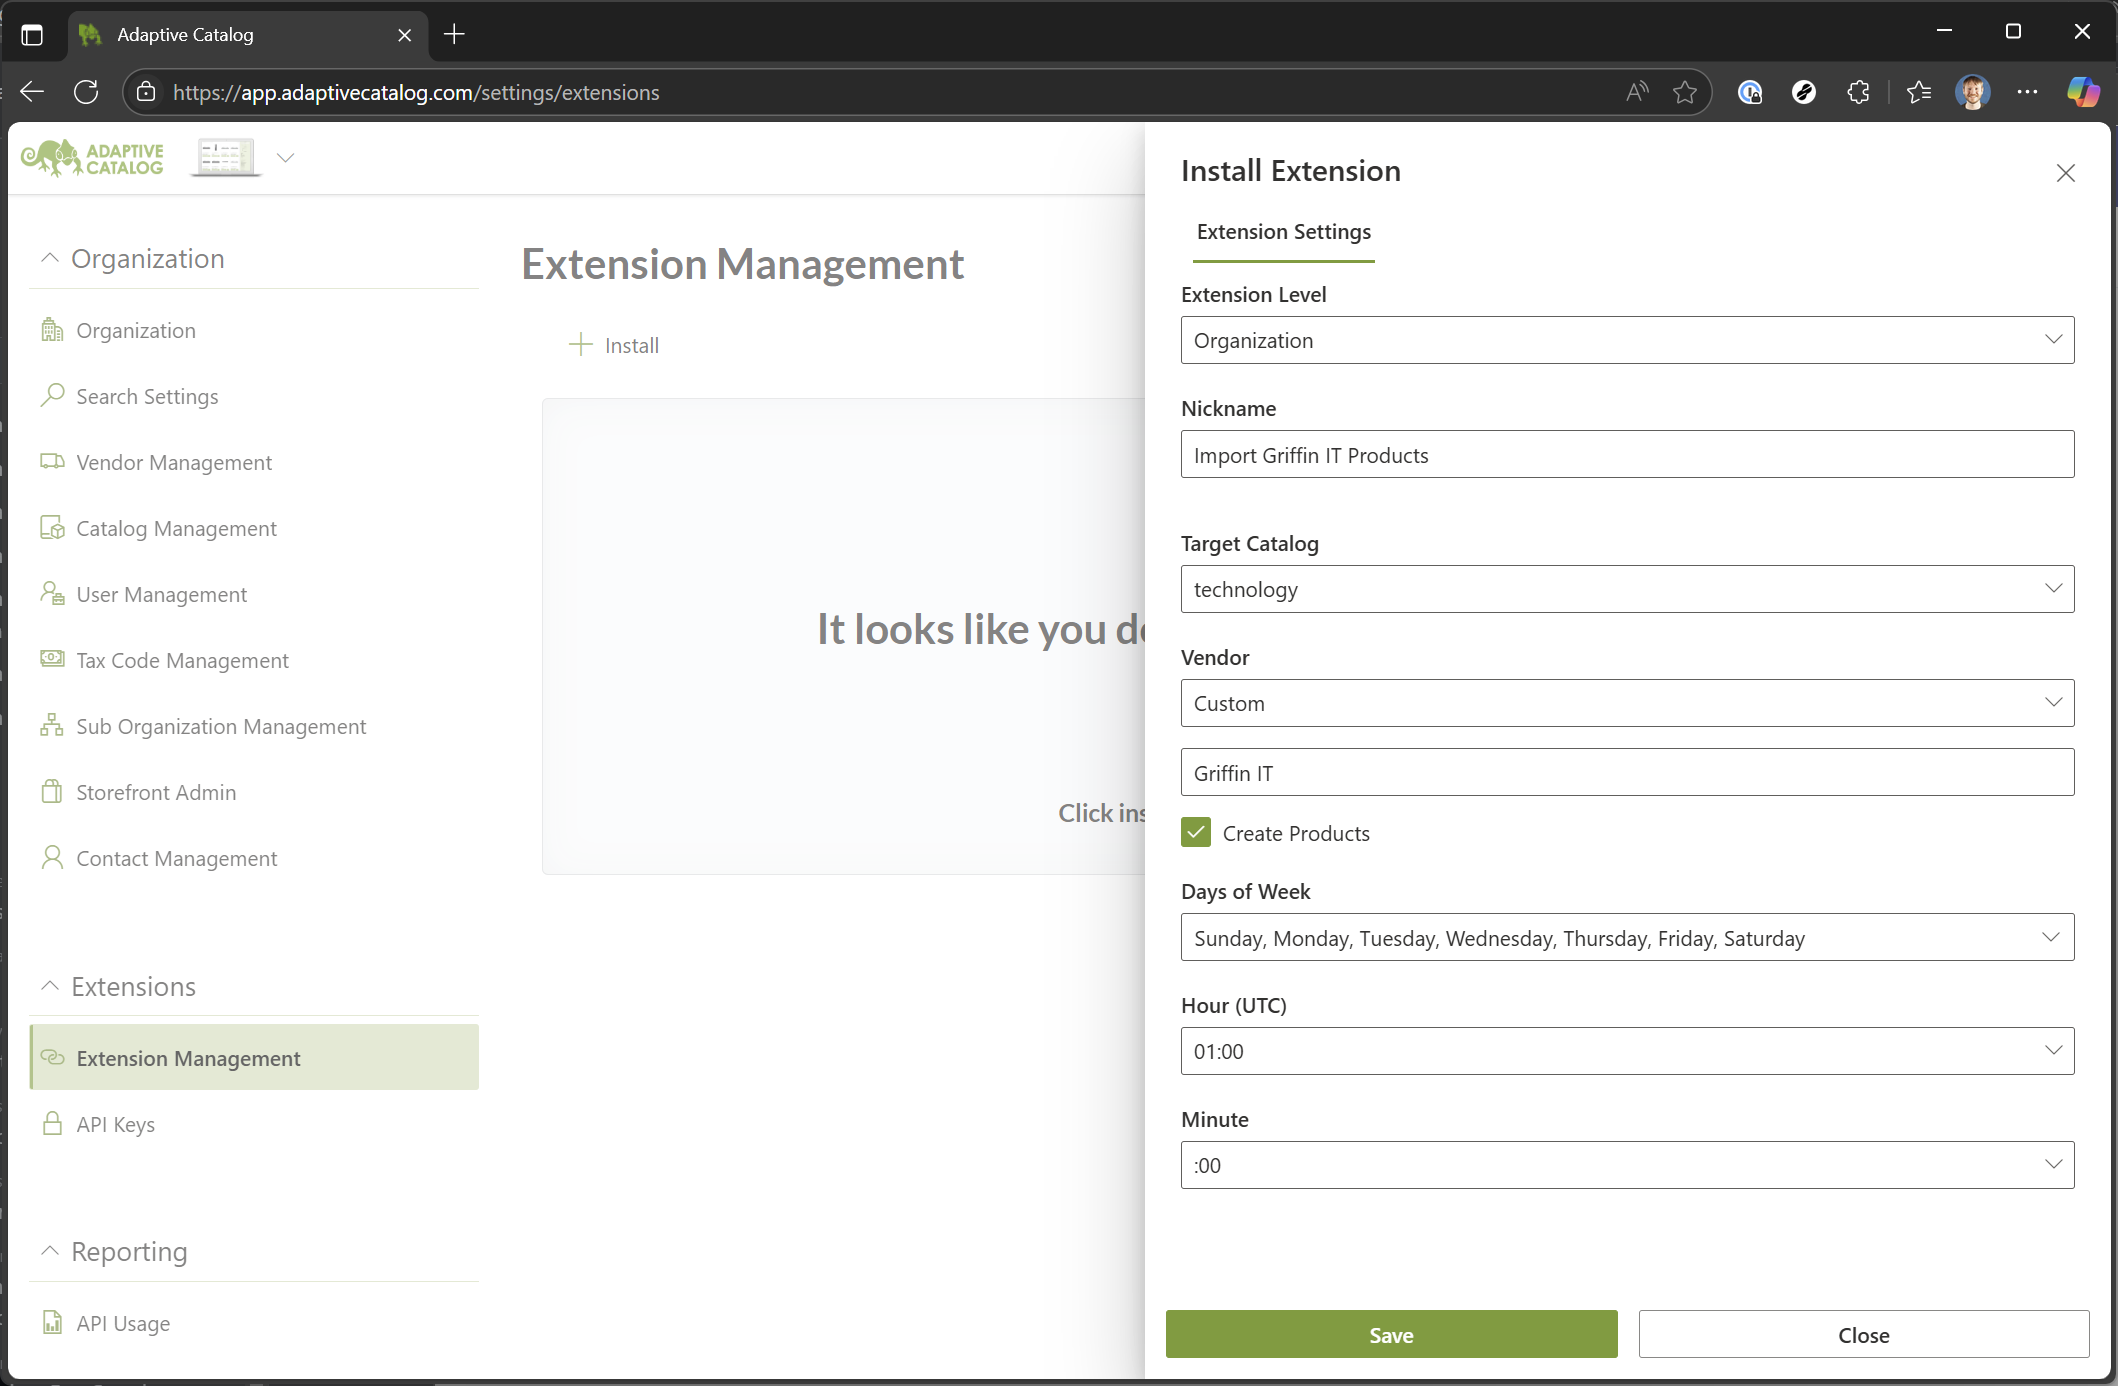
- The import will likely take a few hours to finish the first time.


Using the Integration
When searching for products, you should now see "Griffin IT" products show up.

Additionally, if you want to browse all products that Griffin IT has to offer, you can simply select "In Stock" or "In Catalog" on the Vendor Filters dropdown and clear your keyword search.

Configurable products from Griffin IT will now show up with a "[Configurable]" label in the name. To configure them, simply click into the product details and then click the Configure button at the bottom.

The Configurator Panel will allow you to change supported options for the selected product, such as Storage, RAM, and Processor. It also allows you to add additional Griffin IT services, such as loading a custom image or installing an RMM agent. As you select products you should see the cost update at the bottom of the panel. Once you are happy with your selection, simply click the "Open Product" button to open the product details and add that product to your workspace or a storefront.

When searching for products, by default only the base configuration will be returned. Any specific configurations that have been listed on a storefront will also be returned. If you would like to see all possible configurations, simply check the Include All Configurations checkbox.
